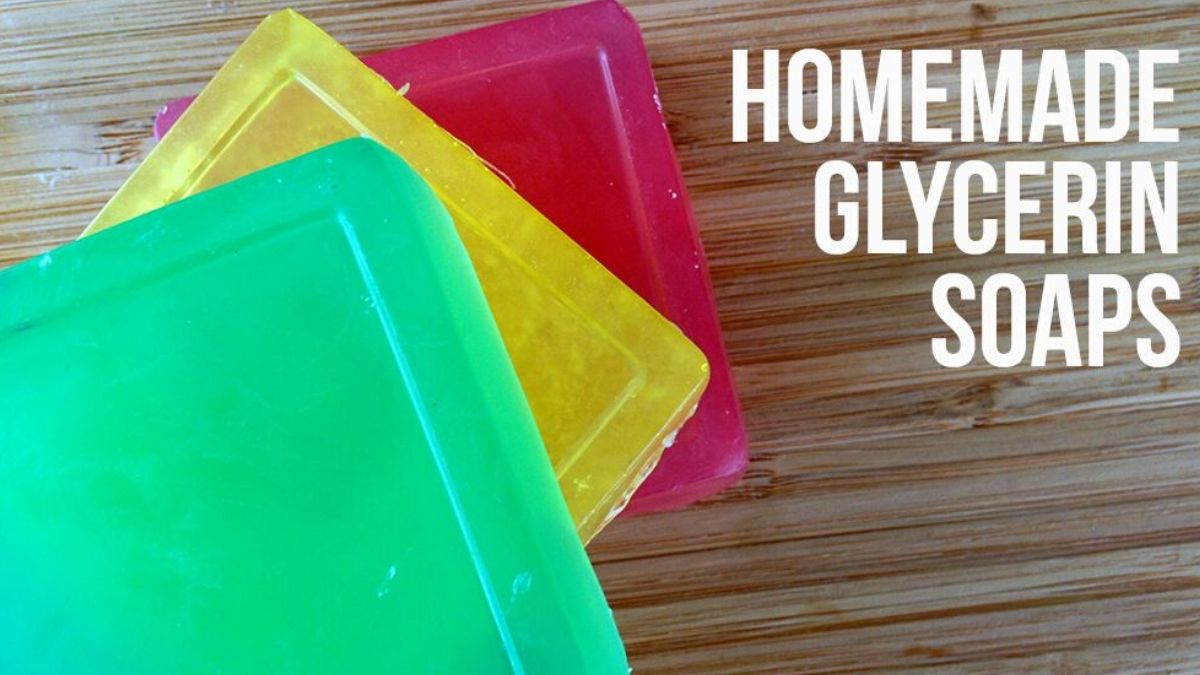
How to Make Homemade Glycerin Soap
Learn how to make homemade glycerin soap very quickly and cheaply with the DIY that we bring you. You will never repurchase soap! Soap is a product that we use daily, although we do not always know what ingredients it contains. Some of the commercial soaps are harmful to the skin to the point of causing some reactions such as dryness. If you want to use a 100% safe soap, don’t miss this DIY on how to make homemade glycerin soap. It is cheap and simple!
Table of Contents
Materials to make homemade glycerin soap
- A tablet of glycerin or liquid glycerin.
- The essential oil of your preference.
- Silicone molds.
- Medium bowl.
- Coloring (optional).
Step by Step Homemade Glycerin Soap
1. Melt the glycerin.
If you have opted for the glycerin lozenge, cut it into small pieces and put them in the container. If the latter is microwave-safe, you can put it in for a few minutes, but if not, it will be enough to put it in a bain-marie. The second option is somewhat slower, but we assure you that the result is unbeatable.
On the other hand, if the glycerin is liquid, you will only have to heat a little water and before it starts to boil, pour the glycerin to thicken it. The amount of water will vary depending on the manufacturer.
2. Remove the glycerin.
While it is warming up in any of the two previous cases, you must go stirring with the help of a spoon or any other instrument. Failure to do so may cause undesirable bubbles that will do little to favour our soap.
3. Add colouring (optional).
If you want your soap to look prettier once finished, add a few drops of colouring in the shade that you like the most.
4. Add essential oil.
Essential oil is going to be crucial for our soap to obtain an aroma that captivates us. Of course, you must bear in mind that each essential oil affects our skin, so choosing correctly will be key to obtaining a soap that gives us what we need, in addition to an unbeatable smell.
[Also Read: Amazing Benefits and Uses of Tea Tree Oil]
5. Pour the mixture into the molds.
Once the mixture is finished, pour all the content into the molds to shape it. This step is essential as well as fun since you can give it the shape you like best and obtain a very first result.
6. Let it cool down.
You should let the mixture sit for about an hour or two. The time is approximate; what is essential is that you observe that it has cooled and solidified completely.
7. Unmold the soap.
Finally, take the soaps out of the molds being very careful not to break or spoil them. You will have to load yourself with utensils and patience, but the result will be very comforting.